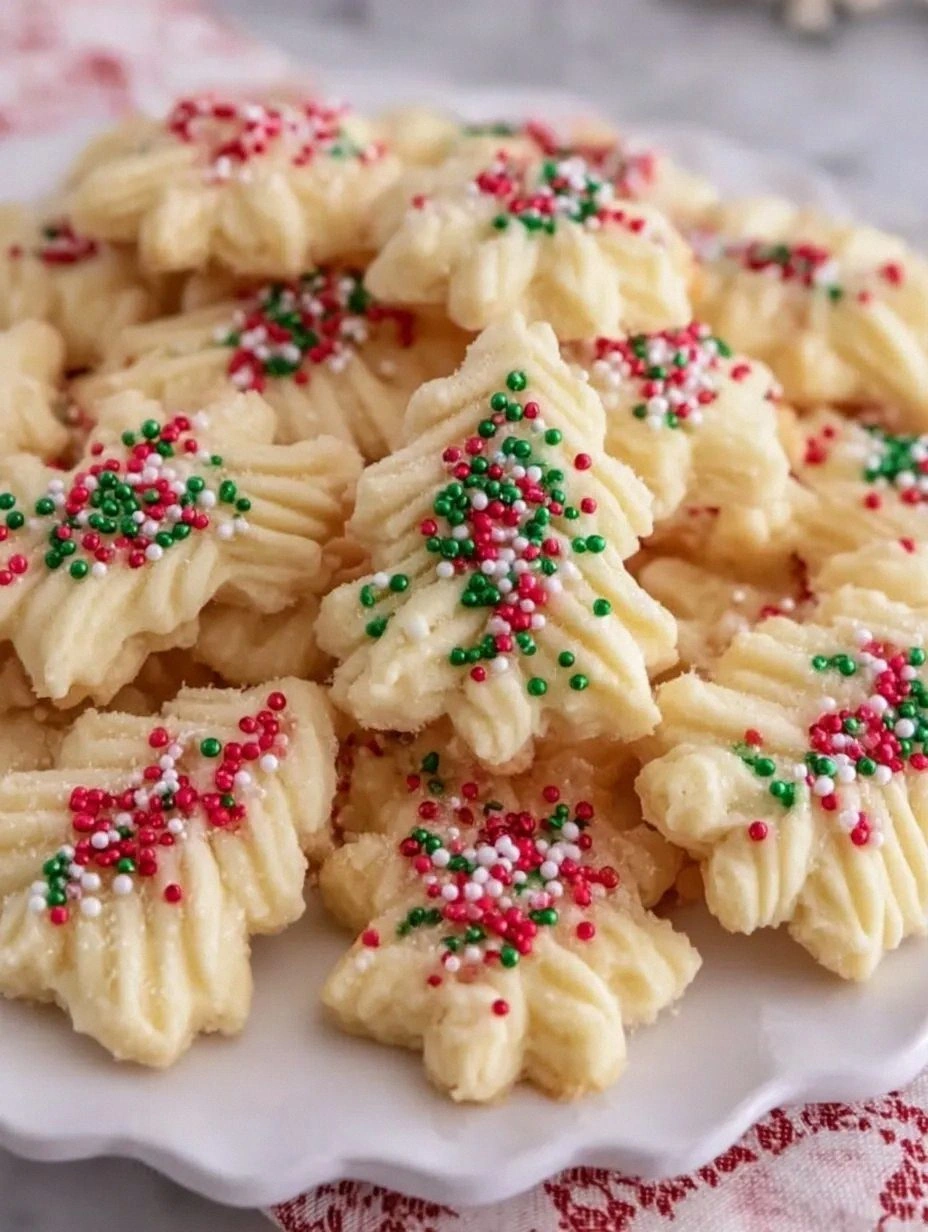
Picture the kitchen: the hum of the oven, a faint buttery aroma curling through the air, the gentle clink of a spoon against a bowl. As the cookies bake, the sugar caramelizes, creating a golden crust that cracks softly when you press it. The sound is almost hypnotic—like a tiny, edible lullaby. Your senses are flooded with the nutty scent, the subtle sweetness, and the comforting promise of something warm and familiar. And that feeling? It’s the same one you get when you open a fresh jar of peanut butter and know the day will get better.
What sets this version apart is its unapologetic simplicity. No butter, no flour, no extra leavening agents—just peanut butter and sugar, the dynamic duo that has been winning taste tests for decades. The result is a cookie that’s chewy on the inside, crisp on the edges, and has that unmistakable peanut buttery hug that makes you reach for a second batch. I dare you to taste this and not go back for seconds. It’s the kind of cookie that turns a simple snack into a celebratory moment.
If you’ve ever tried a cookie that feels like a disappointment or a recipe that’s over‑complicated, you’re not alone. I’ve spent countless evenings wrestling with sticky doughs, uneven baking, and the dreaded “what if” moments that ruin the joy of cooking. But this recipe flips the script: it’s a quick, reliable, and utterly delicious solution that will have you wondering how you ever made anything else. Let me walk you through every single step — by the end, you’ll wonder how you ever made it any other way.
What Makes This Version Stand Out
- Flavor: The peanut butter’s natural sweetness and subtle saltiness combine with sugar to create a depth that feels both familiar and surprising.
- Texture: The dough is dense yet pliable, resulting in cookies that are chewy inside and develop a satisfying crisp edge without the need for baking powder.
- Speed: From prep to bake, you’re in and out of the kitchen in less than 30 minutes—perfect for a quick dessert or a midnight snack.
- Versatility: The base can be tweaked with a pinch of sea salt or a splash of vanilla, allowing you to personalize the flavor profile.
- Portability: Pack a bag of these cookies and you’ll have a wholesome treat that stays fresh for days, ideal for road trips or office breaks.
- Health Conscious: By cutting out flour and butter, you reduce refined carbs and saturated fat while still enjoying a satisfying sweet.
- Make‑ahead Potential: These cookies keep wonderfully in the fridge or freezer, making them an excellent prep‑for‑later option.
- Kid‑Friendly: The simple ingredient list is perfect for involving children in the cooking process, turning it into a fun learning experience.
Alright, let's break down exactly what goes into this masterpiece…
Inside the Ingredient List
The Flavor Base
Peanut butter is the star of this show, bringing a rich, nutty aroma that lingers in the kitchen long after the cookies are gone. It’s not just about taste; the natural oils in peanut butter give the dough its unique elasticity, allowing it to hold shape while baking. If you skip this ingredient, the cookies lose their signature depth and become bland. For a twist, try using creamy or crunchy peanut butter—each offers a slightly different mouthfeel that can change the entire experience.
The Sweetener Crew
Sugar is the second pillar, balancing the peanut butter’s richness with a crisp sweetness that caramelizes on the surface. Brown sugar can be used for a deeper, molasses‑like flavor, but white sugar provides a cleaner, crisper finish. If you omit sugar, the cookies become too oily and lose that desirable caramelized crust. A pinch of sea salt can enhance the sweetness, creating a sophisticated flavor profile that feels indulgent without being overpowering.
The Unexpected Star
While the recipe claims to be “two ingredient,” the subtle addition of a dash of vanilla extract or a pinch of cinnamon can elevate the flavor. Vanilla unlocks the peanut butter’s natural sweetness, while cinnamon adds warmth and a hint of spice. These optional additions are like a secret handshake that tells you you’re a true cookie connoisseur. If you’re adventurous, experiment with a splash of espresso powder for a mocha twist.
The Final Flourish
A small pinch of sea salt is the finishing touch that balances the sweetness and brings out the peanut butter’s natural flavor. Too much salt can make the cookies taste bitter, so measure carefully. If you’re avoiding sodium, you can skip this step, but the cookies will still be delicious—just a little less complex. The salt’s role is subtle but essential, like the final note in a perfectly composed song.
Everything's prepped? Good. Let's get into the real action…
The Method — Step by Step
- Preheat your oven to 350°F (175°C) and line a baking sheet with parchment paper. This ensures even baking and prevents sticking—no one wants a cookie that refuses to detach. The parchment also creates a subtle, crisp edge that makes the cookies feel luxurious. While the oven warms, gather your two heroic ingredients: peanut butter and sugar.
- Measure out one cup of creamy peanut butter into a medium bowl. If you’re using crunchy peanut butter, you’ll get a delightful crunch in the dough that adds texture. Spread the peanut butter evenly with a spatula, ensuring no lumps remain; this creates a smooth base for the sugar to integrate. The consistency should feel like a soft, malleable paste that’s easy to work with.
- Add one cup of white sugar to the peanut butter. Stir until the mixture becomes a uniform, glossy dough. The sugar dissolves into the peanut butter, creating a slightly sticky texture that holds together during baking. If you’re feeling experimental, replace the sugar with brown sugar for a richer, molasses‑like flavor profile.
- Optional: Add a teaspoon of vanilla extract or a pinch of cinnamon for extra depth. This step is like adding a secret ingredient to a classic song—just a few notes that elevate the whole composition. If you skip this step, the cookies will still be delicious, but you’ll miss out on that subtle complexity that makes them memorable.
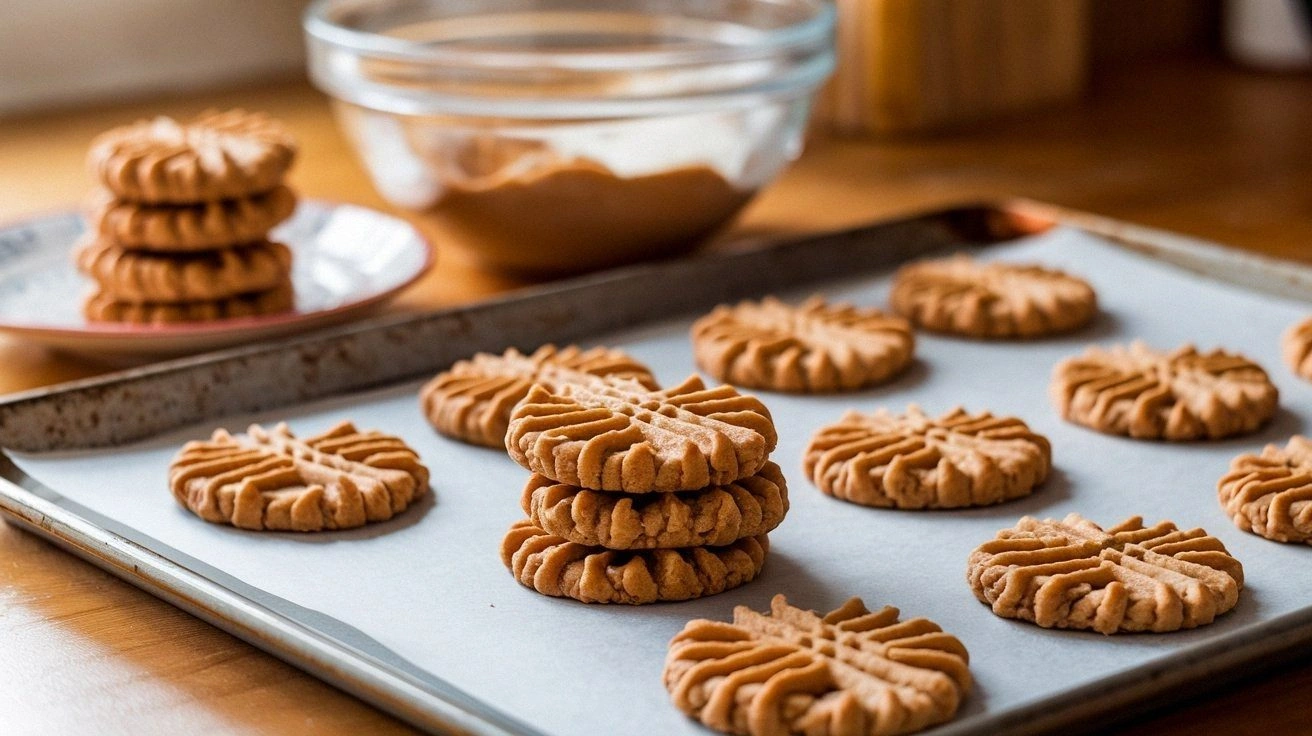
- Drop rounded tablespoons of dough onto the prepared baking sheet, spacing them about 2 inches apart. As they spread, they should flatten into a round, slightly domed shape. The dough will not rise significantly, so keep the spacing consistent to avoid overcrowding. This step is crucial for even baking and prevents the cookies from merging into one another.
- Bake for 10–12 minutes, or until the edges are golden brown and the centers are set. The cookies will still look slightly undercooked in the middle, but they will firm up as they cool. The aroma will fill your kitchen, and you’ll know the moment of truth is approaching. Keep an eye on them—oven temperatures can vary, and you don’t want them to burn.
- Remove from the oven and let the cookies cool on the sheet for 5 minutes before transferring to a wire rack. This short cooling period allows the cookies to set, preventing them from breaking apart when moved. The steam trapped inside will create a soft, chewy interior that’s the hallmark of this recipe.
- Enjoy the cookies warm or let them cool completely for a firmer bite. Store any leftovers in an airtight container at room temperature for up to a week, or freeze for longer storage. When you’re ready to reheat, place a cookie on a microwave-safe plate and heat for 10–15 seconds—this restores the soft texture without drying them out.
That's it — you did it. But hold on, I've got a few more tricks that'll take this to another level...
Insider Tricks for Flawless Results
The Temperature Rule Nobody Follows
Many bakers overheat their ovens, causing the cookies to brown too quickly on the edges while staying raw in the center. Keep the oven at a steady 350°F and use an oven thermometer to verify the temperature. Even a 10‑degree variance can affect the final texture. If you notice uneven baking, lower the temperature by 20°F and let them bake a bit longer.
Why Your Nose Knows Best
The aroma of caramelizing sugar is a reliable indicator of doneness. As the sugar melts, it releases a sweet, buttery scent that signals the cookies are ready to be pulled from the oven. Trust your nose; it’s a seasoned chef’s secret weapon. If you’re unsure, check the edges—they should be a light golden brown.
The 5‑Minute Rest That Changes Everything
Letting the cookies rest on the baking sheet for 5 minutes before transferring to a rack locks in moisture. During this brief cooling period, the cookies finish cooking through steam, preventing them from cracking or breaking apart. This simple step can transform a good cookie into a perfect one.
The Sweet Spot for Sea Salt
Adding just a pinch of sea salt enhances the peanut butter’s flavor without overwhelming the sweetness. Too much salt can turn the cookies bitter, so use a light hand. Sprinkle the salt directly onto the dough before baking, then give it a quick toss to distribute evenly.
The Secret to a Chewy Center
If you prefer a chewier center, bake the cookies for slightly less time—about 9 minutes. The centers will be softer, and the cookies will continue to set as they cool. This technique is great for those who love a gooey, molten peanut butter experience.
Creative Twists and Variations
This recipe is a playground. Here are some of my favorite ways to switch things up:
Chocolate Swirl Delight
Stir in 2 tablespoons of melted dark chocolate into the dough before baking. The chocolate creates a decadent swirl that adds richness and a hint of bitterness. This variation is perfect for chocolate lovers who want a balanced sweet‑savory bite.
Coconut Crunch
Fold in 1/4 cup of shredded coconut to the dough for a tropical twist. The coconut adds a subtle sweetness and a chewy texture that pairs beautifully with the peanut butter. It’s a great option for those who enjoy a beachy flavor profile.
Spiced Nutty Fusion
Add 1/2 teaspoon of ground ginger or a pinch of cardamom to the dough. These spices introduce a warm, aromatic layer that elevates the cookie’s complexity. The result is a cookie that feels both comforting and adventurous.
Nutella‑Infused Surprise
Replace half of the peanut butter with Nutella for a hazelnut‑chocolate twist. The Nutella adds a creamy chocolate flavor that complements the peanut butter’s nutty undertones. This version is ideal for those who love a sweet, indulgent treat.
Almond Butter Alternative
Swap peanut butter for almond butter to create a slightly different nut profile. Almond butter offers a milder, slightly sweeter taste, while still providing the same chewy texture. This variation is great for peanut‑allergic friends or anyone looking to experiment.
Storing and Bringing It Back to Life
Fridge Storage
Place the cookies in an airtight container at room temperature for up to 5 days. The cool environment slows down the oils from going rancid, keeping the cookies fresh. If you notice a slight loss of crispness, a quick microwave pulse can restore the original texture.
Freezer Friendly
Wrap each cookie individually in parchment paper and place them in a freezer bag. They can be stored for up to 3 months without losing flavor. When you’re ready to enjoy, let them thaw at room temperature for 10 minutes before reheating.
Best Reheating Method
Reheat the cookies in the oven at 300°F for 5 minutes or in the microwave for 10–15 seconds. Adding a tiny splash of water before reheating can help steam the cookies back to perfection, preventing them from drying out. The result is a cookie that tastes freshly baked, even after storage.