I remember the night I burned my first batch of s'mores cupcakes. The oven door was open a little too wide, the marshmallows were charred, and the whole kitchen smelled like a campfire that had lost its spark. I stared at the ruined cake and swore that if I could find a recipe that balanced the gooey marshmallow center with a crisp graham base, I’d finally own the s'mores game. That promise became the spark that lit this entire culinary journey.
Picture the scene: a warm, buttery aroma drifting from the oven, the faint hiss of steam as the batter rises, and the sight of golden edges that crackle like a campfire on a crisp night. The sound of the timer ticking, the feel of the parchment paper under your fingers, and that first bite—crunchy graham, molten chocolate, and a cloud of toasted marshmallow—are the senses that bring this cake to life. I’ve been craving that exact combination for years, and this version delivers on every note.
What sets this recipe apart isn’t just the layers of flavor; it’s the technique that locks in moisture, the precise balance of leavening that keeps the cake airy, and the clever use of marshmallow crème to create pockets of sweetness that burst in your mouth. The batter is silky yet thick enough to hold the chocolate chips and marshmallows in place, and the final bake results in a cake that feels like a campfire in a pan—warm, inviting, and impossibly delicious. If you’re skeptical, I dare you to taste this and not go back for seconds.
Let me walk you through every single step—by the end, you’ll wonder how you ever made it any other way. I promise this is hands down the best version you'll ever make at home, and I’ll be honest—I ate half the batch before anyone else got to try it. Most recipes get this completely wrong. Here’s what actually works. Picture yourself pulling this out of the oven, the whole kitchen smelling incredible, and feeling that triumphant rush of a perfectly baked masterpiece. Stay with me here—this is worth it.
What Makes This Version Stand Out
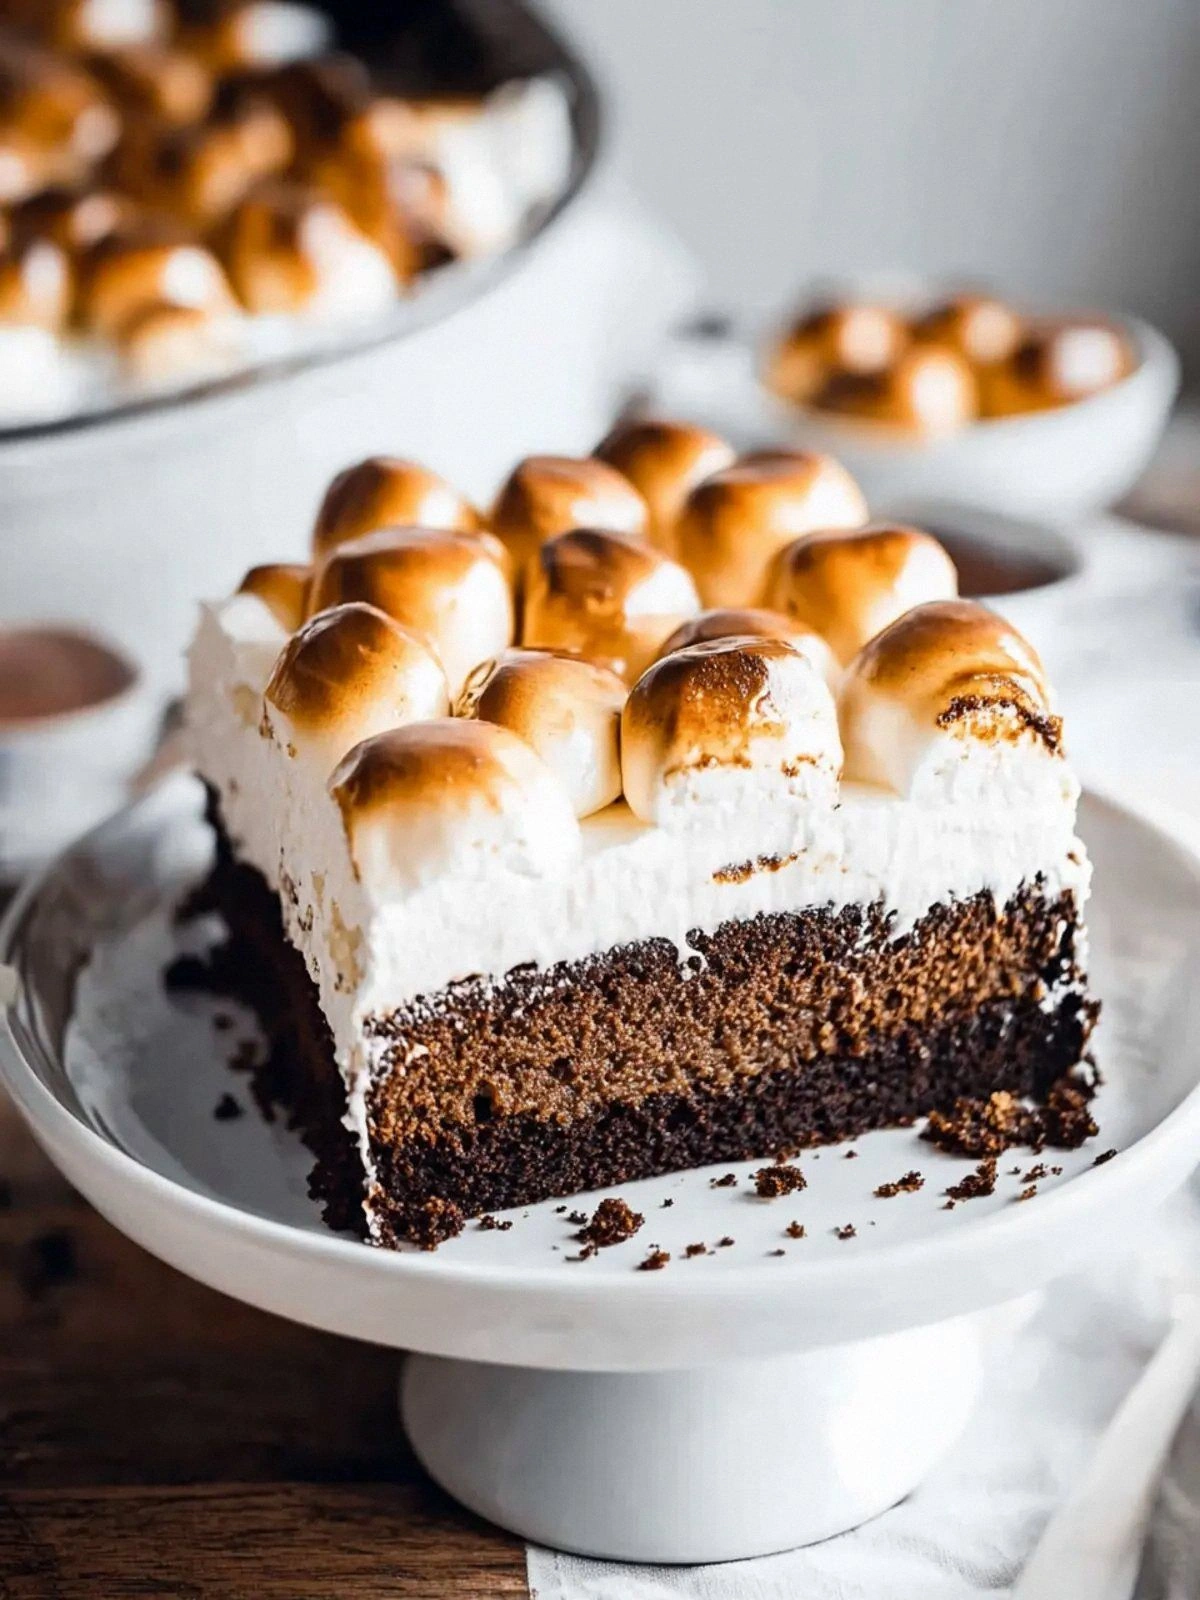
- Texture: The batter’s silky consistency ensures every bite is moist and fluffy, while the graham crumbs give a satisfying crunch that echoes a campfire’s crackle.
- Flavor: A deep cocoa base pairs with sweet marshmallow crème and chocolate chips, creating layers that melt together like a symphony of dessert.
- Ease: All the steps are straightforward, with no hidden tricks—just a few ingredients and a single baking pan.
- Make‑ahead: The cake can be baked, cooled, and stored for up to three days, making it an excellent option for busy weeknights.
- Versatility: Swap in dark chocolate chips or add a splash of espresso for a mocha twist, and the base remains solid.
- Crowd‑pleaser: The gooey marshmallow pockets create a dramatic “wow” factor that guarantees rave reviews at parties.
- Ingredient Quality: Using fresh, high‑quality graham cracker crumbs and real marshmallow crème elevates the entire experience.
- Heat Control: Baking at a moderate 350°F ensures even cooking, preventing the marshmallows from burning while the cake remains tender.
Alright, let's break down exactly what goes into this masterpiece...
Inside the Ingredient List
The Flavor Base
The foundation of this cake is a harmonious blend of flour, brown sugar, graham cracker crumbs, and cocoa powder. Each component plays a pivotal role: flour provides structure, brown sugar adds caramelized sweetness, graham crumbs give a rustic crunch, and cocoa delivers deep chocolate depth. Together they create a batter that’s both robust and tender. If you omit any of these, you’ll lose that layered, campfire-inspired experience.
The Texture Crew
Leavening agents—baking powder and baking soda—are the silent heroes that keep the cake light and airy. Salt balances the sweetness, while buttermilk’s acidity reacts with the leaveners to lift the batter. Vegetable oil keeps the crumb moist, and eggs bind everything together, giving the cake a silky mouthfeel. Skipping or reducing any of these will result in a denser, less satisfying bite.
The Unexpected Star
Marshmallow crème isn’t just a garnish; it’s the secret sauce that creates pockets of gooeyness. When folded in, it melts into the batter, forming pockets that burst with sweet, fluffy marshmallow when you bite. Without it, the cake would lack the iconic s'more texture. If you’re allergic to dairy, consider a non‑dairy crème alternative—just ensure it’s the same consistency.
The Final Flourish
Chocolate chips and whole marshmallows are the crowning glory. The chips add a crunchy chocolate bite, while the marshmallows become the centerpiece of each slice. The combination of melted chips and toasted marshmallows gives the cake its signature decadence. If you prefer a lighter version, reduce the marshmallow count by half and increase the chips for a different balance.
Everything's prepped? Good. Let's get into the real action...
The Method — Step by Step
- Preheat your oven to 350°F (175°C). Grease a 9x13 inch pan with butter and dust it lightly with flour, or line it with parchment paper. The gentle heat will begin a slow dance that brings the batter to life. This is the moment where anticipation turns into aroma.
- In a large mixing bowl, whisk together 2 cups all-purpose flour, 1 cup brown sugar, 1 cup graham cracker crumbs, ¾ cup unsweetened cocoa powder, 1 tablespoon baking powder, 1 tablespoon baking soda, and ½ teaspoon salt. The dry mix is the backbone that holds the cake together and gives that classic s'more crunch. If you’re short on time, you can use a stand mixer for a quick blend.
- In a separate bowl, combine 1 cup buttermilk, ½ cup vegetable oil, 2 large eggs, and 2 teaspoons vanilla extract. Beat until the mixture is silky, like a smooth chocolate mousse waiting to be poured. This wet blend will give the cake its moist, tender crumb.
- Pour the wet mixture into the dry ingredients. Stir gently until just combined; overmixing will make the cake tough. The batter should be thick but pourable, the kind that swirls when you tilt the bowl. Feel the batter’s silky texture—this is the sweet spot.
- Fold in 1 cup semisweet chocolate chips, 1 cup marshmallow crème, and 1 cup whole marshmallows. These will become pockets of gooey decadence that melt in your mouth. The chips add a crunchy chocolate bite, while the marshmallows become the centerpiece of each slice.
- Pour the batter into the prepared pan. Tap the pan gently on the counter to release air bubbles. The batter should spread evenly, creating a uniform surface. This step ensures a smooth top and even baking.
- Bake for 30–35 minutes, or until a toothpick inserted in the center comes out with a few moist crumbs. The edges should be slightly darker, hinting at caramelization. Watch out: Overbaking will dry out the marshmallows and create a hard shell.
- Remove from oven and let cool in the pan for 10 minutes. Then transfer to a wire rack to cool completely. This resting period allows flavors to settle and the cake to firm up. The cake will release easily from the pan after this brief chill.
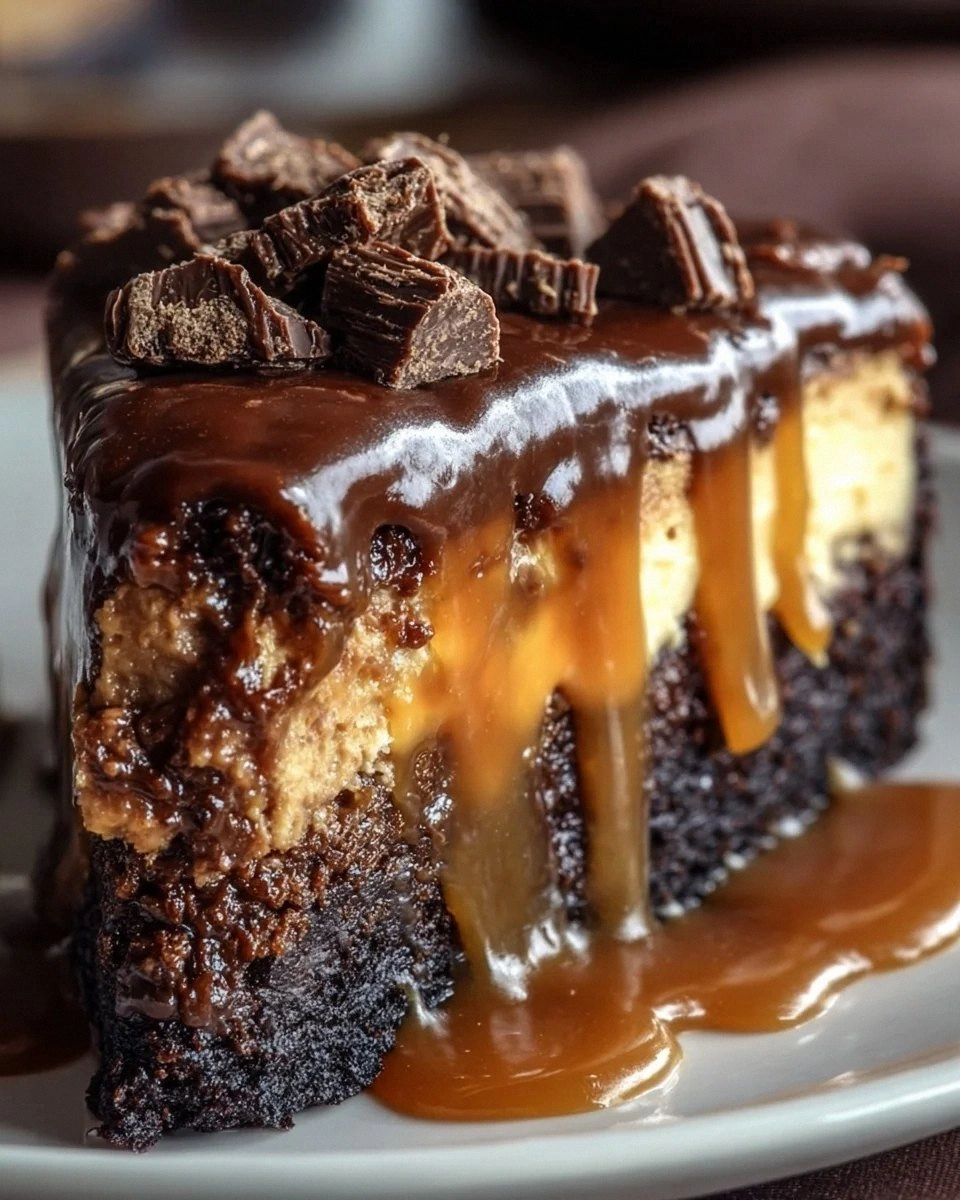
- Slice and serve. For an extra wow factor, drizzle melted chocolate or a dusting of powdered sugar. Enjoy the symphony of crunchy graham, chocolate, and marshmallow. The first bite will feel like a campfire in a pan—warm, inviting, and impossibly delicious.
That's it — you did it. But hold on, I've got a few more tricks that'll take this to another level...
Insider Tricks for Flawless Results
The Temperature Rule Nobody Follows
Many bakers overheat their cakes, thinking higher temperatures cook faster. In reality, a steady 350°F allows the batter to rise gently while the marshmallows stay soft. If you’re in a hot climate, reduce the oven temperature by 10°F to avoid overbrowning.
Why Your Nose Knows Best
When the cake starts to emit a toasted, caramel aroma, you’re at the sweet spot. This scent signals the sugars are caramelizing without burning. Trust your nose; if it smells too sweet or burnt, pull the cake out immediately.
The 5-Minute Rest That Changes Everything
Letting the cake rest for exactly five minutes after removal from the oven locks in moisture and prevents the marshmallows from collapsing. This short pause also allows the chocolate chips to set slightly, creating a satisfying bite.
Avoiding the Sticky Situation
If the batter sticks to the pan, it’s often due to inadequate greasing. Use a high-smoke-point oil, like avocado oil, and spread it evenly. A thin layer of parchment paper can also prevent sticking.
The Secret to a Fluffy Crumb
Whisking the dry ingredients separately before adding them to the wet mixture helps incorporate air. This simple step keeps the cake light and airy, preventing a dense, heavy crumb.
Creative Twists and Variations
This recipe is a playground. Here are some of my favorite ways to switch things up:
Nutty Bliss
Add ½ cup chopped toasted pecans or walnuts for a crunchy, nutty contrast. The nuts pair beautifully with the chocolate chips and give the cake a hearty texture.
Spiced Indulgence
Stir in ¼ teaspoon ground cinnamon and a pinch of nutmeg before baking. The warm spices elevate the flavor profile, making it perfect for fall gatherings.
Citrus Twist
Replace half of the marshmallow crème with orange zest-infused whipped cream. The citrus brightens the richness and adds a refreshing note.
Chocolate‑Heavy Delight
Swap the semisweet chips for dark chocolate chips and add ½ cup cocoa nibs. This version satisfies dark chocolate lovers with an intense, bittersweet bite.
Gluten‑Free Option
Use a gluten‑free flour blend and a pinch of xanthan gum. The cake remains fluffy, and the marshmallow pockets stay intact.
Mini‑S'mores Bites
Cut the cake into bite‑sized squares before frosting. They’re perfect for parties or as a sweet snack for kids.
Whether you’re a midnight snack enthusiast or a party host, this cake scales up or down with ease, making it a staple in any culinary repertoire.
Storing and Bringing It Back to Life
Fridge Storage
Wrap the cooled cake tightly in plastic wrap and store in the refrigerator for up to 3 days. The moisture from the wrap keeps the cake from drying out, preserving the marshmallow pockets.
Freezer Friendly
Place slices in an airtight container or zip‑lock bag and freeze for up to 2 months. Thaw overnight in the fridge before serving to maintain texture.
Best Reheating Method
Reheat frozen slices in the microwave on medium power for 15–20 seconds. Add a tiny splash of water before reheating to create steam that restores the cake’s moistness.