Picture this: it’s December 24th, the kitchen is a whirlwind of twinkling lights, the scent of pine, and the clatter of holiday music. I’m standing in front of the stove, a bag of Rice Krispies and a handful of mini marshmallows in my hands, and I swear I’m about to make a mess. I had a dare from a friend—“I dare you to taste this and not go back for seconds.” I laughed, but I could feel the temptation rising. The air is thick with anticipation, the sound of a kettle whistling in the background, and the faint crackle of a fire that’s already begun to set the mood. This isn’t just another snack; it’s a promise of holiday warmth, a bite that feels like a hug in a tinny, sticky square.
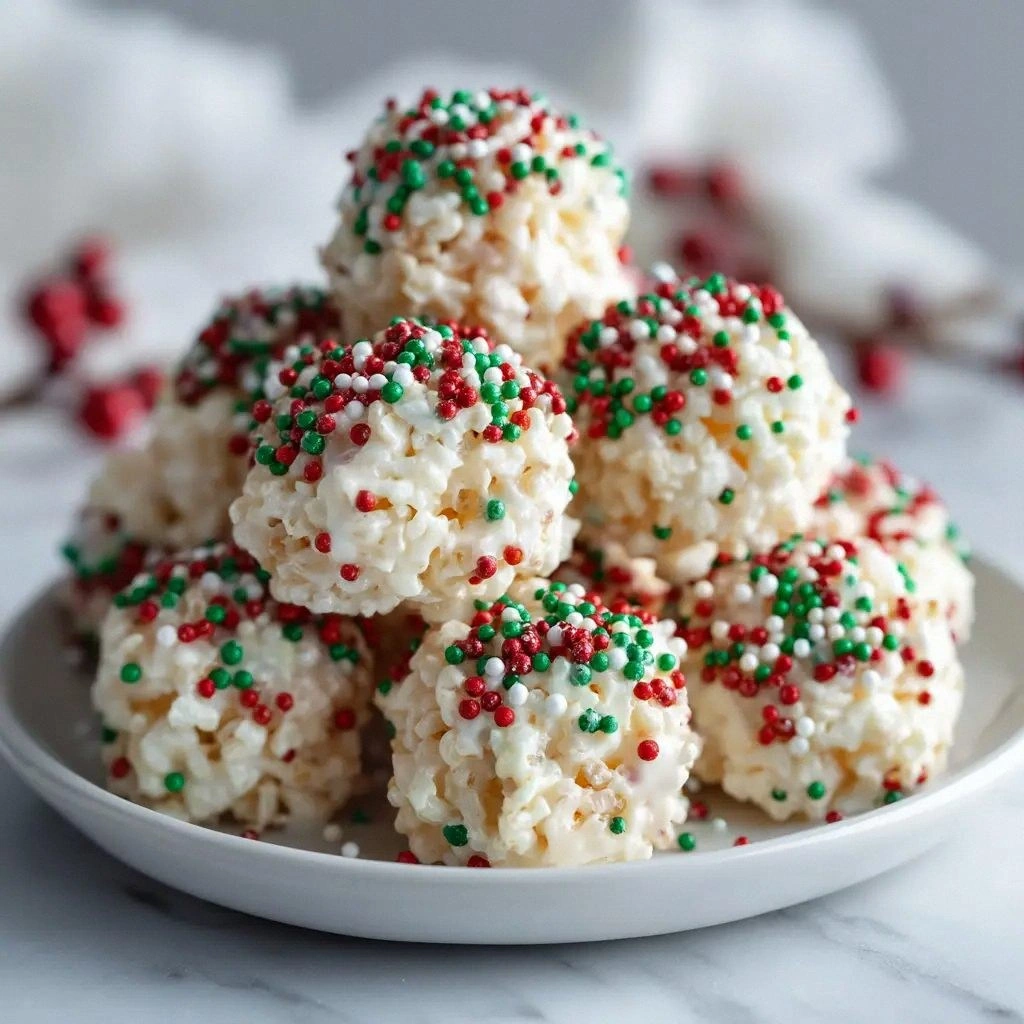
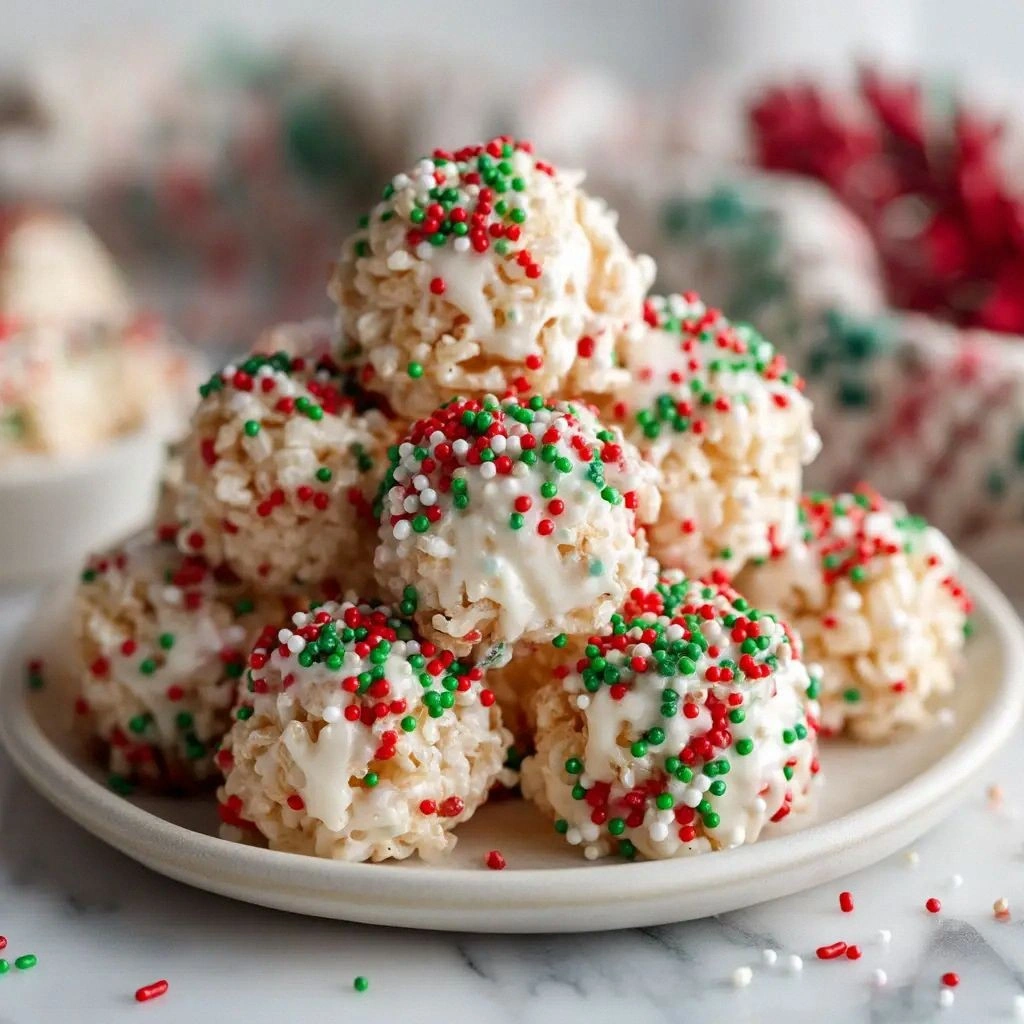
I’ve tried every version of Rice Krispie Treats I’ve seen on Pinterest and the internet, from the classic buttery goo to the extravagant chocolate‑covered towers. Most of them feel… well, a bit… bland. They’re either too dry, too sweet, or just plain forgettable. What sets this one apart is the way the marshmallows and rice cereal dance together, the subtle vanilla undertone that lingers like a secret, and the pop of green gel that turns each treat into a holiday snowflake. It’s hands down the best version you’ll ever make at home. The crunch is crisp, the chew is chewy, and the color—oh, the color—makes every bite a visual treat.
I’ll be honest—I ate half the batch before anyone else got to try it. The moment you taste the first square, the butter melts, the marshmallows soften, and the crunch gives way to a satisfying chew. The flavor is pure, unpretentious, and utterly comforting. The next time you think about making a quick holiday sweet, think of this recipe. Picture yourself pulling this out of the pan, the whole kitchen smelling incredible, and the sound of the first bite echoing like a tiny Christmas bell. Okay, ready for the game‑changer? Let me walk you through every single step—by the end, you’ll wonder how you ever made it any other way.
What Makes This Version Stand Out
- Crunch: The 6 cups of crispy rice cereal give each bite a satisfying snap that doesn’t crumble like a bad cookie. It’s the foundation that keeps the treat firm yet chewy.
- Moisture: The 10‑ounce bag of mini marshmallows, plus an extra cup reserved for topping, creates a gooey center that’s silky without being sticky. It’s the secret to the perfect melt‑in‑your‑mouth texture.
- Flavor Depth: A single teaspoon of vanilla extract is enough to elevate the sweet marshmallow base into something that feels festive, not syrupy.
- Color Pop: A few drops of green gel food coloring transform the treats into a holiday statement piece—think snowflakes, ornaments, or a green candy cane.
- Sprinkle Finish: The ¼ cup holiday sprinkles add a festive crunch and a burst of color that makes each piece look like a tiny edible ornament.
- Make‑Ahead Friendly: The recipe can be prepared the day before, stored in an airtight container, and reheated in a microwave or oven for a fresh bite.
- Kid‑Friendly: The ingredients are simple, the process is safe, and the result is a sweet treat that even the youngest can enjoy (with a little supervision, of course).
- Budget‑Friendly: All the ingredients are pantry staples, and the recipe yields a generous batch that’s perfect for parties or stocking stuffers.
Alright, let's break down exactly what goes into this masterpiece. But before we dive deeper, here’s a quick kitchen hack to make the process even smoother.
Inside the Ingredient List
The Crunch Crew
The 6 cups of Crispy Rice Cereal are the backbone of these treats. They’re the ones that give that satisfying bite that doesn’t fall apart under your teeth. If you’re looking to tweak the crunch, consider using a different brand of rice cereal—some have a slightly thicker texture that can add a unique bite. If you skip the cereal entirely, the treat will lose its iconic crunch and become more like a marshmallow cake.
The Sweet Core
The mini marshmallows are the star of the show. The recipe calls for a 10‑ounce bag, which is roughly 2.5 cups, plus an extra cup reserved for a glossy topping. The mini size is key; larger marshmallows would create a denser, less uniform texture. If you’re in a pinch, you can substitute regular mini marshmallows with mini marshmallows in a different flavor—chocolate or peppermint—just be aware that it will change the overall sweetness.
The Final Flourish
The 4‑5 drops of green gel food coloring are a simple yet powerful addition. They transform the treats into holiday ornaments in a flash. If you’re not a fan of artificial coloring, a few drops of green natural extract (like matcha powder or green tea) can do the trick, though the color will be a bit more muted. The ¼ cup of holiday sprinkles adds a final pop of festive sparkle.
Everything's prepped? Good. Let's get into the real action.
The Method — Step by Step
- Start by lining a 9x13 inch pan with parchment paper or lightly greasing it with butter. This ensures the treats slide out effortlessly after they’ve set. The parchment also gives a clean edge that looks great when you cut the squares. If you’re feeling extra fancy, you can line the pan with a sheet of wax paper for an even smoother release.
- In a large saucepan, melt the 4 tablespoons of unsalted butter over medium heat. Keep an eye on it—once the butter starts to bubble, that’s the moment it’s ready. Stir constantly to prevent the butter from scorching. When the butter is fully melted, give the pan a quick swirl to coat the bottom evenly.
- Add the 10‑ounce bag of mini marshmallows to the melted butter. Stir until the marshmallows have fully melted and the mixture is glossy. The aroma of butter and sugar should fill the kitchen, signaling that the base is ready. If you’re using a microwave, heat the mixture in 30‑second bursts, stirring in between, until it’s smooth.
- Remove the pan from heat and whisk in the 1 teaspoon of vanilla extract. The vanilla should disperse instantly, creating a subtle depth that balances the sweetness. This step is crucial—skip it and the treats will taste flat.
- Stir in the 6 cups of crispy rice cereal until everything is evenly coated. The mixture should be glossy and slightly sticky. If the mixture looks dry, add a splash of milk or water—just a tablespoon at a time—until it reaches the right consistency.
- Transfer the sticky mixture into the prepared pan and press it firmly with a spatula or the back of a spoon. The goal is to create a compact, even layer that will set without gaps. If you’re a perfectionist, you can use a piece of parchment paper to press down and smooth out any unevenness.
- Let the mixture cool for about 10 minutes. As it cools, the butter will set, and the treats will firm up. This is the moment of truth—watch the surface as it starts to pull away slightly from the edges. Once it’s cool enough to handle, press the reserved 1 cup of mini marshmallows on top. Sprinkle the ¼ cup of holiday sprinkles over the marshmallows.
- Using a sharp knife or a pizza cutter, cut the set layer into squares or rectangles. The treats should hold their shape and not crumble. Store them in an airtight container at room temperature for up to a week, or freeze for longer storage. When you’re ready to enjoy them again, a quick 20‑second microwave burst will bring them back to their original gooey glory.
That’s it — you did it. But hold on, I've got a few more tricks that'll take this to another level.
Insider Tricks for Flawless Results
The Temperature Rule Nobody Follows
When melting the butter and marshmallows, keep the heat low. A steady medium heat ensures the marshmallows melt evenly without caramelizing. If the mixture gets too hot, you’ll end up with a darker, more bitter flavor. The trick is to watch the butter bubbles; once they’re steady, you’re good to go.
Why Your Nose Knows Best
The first time you inhale the aroma of butter and marshmallows, you’ll know the mixture is perfect. The scent should be sweet, buttery, and slightly caramelized. If it smells too sweet or too burnt, pause and adjust the heat. Your nose is a reliable judge of flavor balance.
The 5‑Minute Rest That Changes Everything
After pressing the mixture into the pan, let it rest for exactly five minutes before adding the topping. This short pause allows the butter to set slightly, making it easier to press the mini marshmallows on top without them sliding off. A friend once tried skipping this step and the top layer ended up looking uneven—don’t make that mistake.
The Sprinkles Trick
If you want the sprinkles to stick better, lightly dust the top layer with a little powdered sugar before adding them. The sugar acts as an adhesive, preventing the sprinkles from falling off during storage. It also gives a subtle extra sweetness.
The Microwave Rescue
If your treats have hardened over time, a quick 20‑second microwave burst at 700 watts will bring them back to gooey perfection. Place the treats on a microwave‑safe plate and watch the steam rise. This trick works wonders for reheating.
Creative Twists and Variations
This recipe is a playground. Here are some of my favorite ways to switch things up:
Peppermint Pop
Add a teaspoon of peppermint extract to the butter‑marshmallow base and sprinkle crushed candy canes on top. The minty bite pairs beautifully with the sweet marshmallow center.
Chocolate Drizzle
Drizzle melted dark chocolate over the cooled treats and sprinkle chocolate chips on top. The bittersweet chocolate contrast adds a sophisticated layer of flavor.
Nutty Crunch
Stir in ½ cup of chopped toasted almonds or pecans before pressing the mixture into the pan. The nuts add texture and a subtle nutty aroma that elevates the treat.
Cinnamon Spice
Add ½ teaspoon of ground cinnamon to the marshmallow mixture. The warm spice gives the treats a cozy, holiday feel that’s perfect for a chilly evening.
S’mores Edition
Replace the mini marshmallows with regular marshmallows and sprinkle mini chocolate chips on top. The result is a mini s’more in every bite, a nostalgic twist that kids love.
Storing and Bringing It Back to Life
Fridge Storage
Keep the treats in an airtight container at room temperature for up to one week. The airtight seal prevents the treats from drying out and maintains their chewy texture. If you’re in a humid climate, the treats may soften slightly, but they’ll still taste great.
Freezer Friendly
For longer storage, wrap the treats individually in plastic wrap and place them in a freezer bag. They’ll stay fresh for up to three months. When you’re ready to enjoy them, let them thaw at room temperature for 10 minutes before reheating.
Best Reheating Method
The microwave is your best friend for reheating. Place the treats on a microwave‑safe plate and heat for 15‑20 seconds at 700 watts. If you prefer a slightly crispier exterior, pop them in the oven at 300°F for 5 minutes. The key is to avoid over‑heating, which can make them too hard.