Picture this: it’s a Friday night, the lights are low, and you’re staring at a bag of frozen burrito kits that smell like disappointment. I tried one, and the tortilla was soggy, the filling bland, and the salsa tasted like it had been sitting in a jar for weeks. That night, I made a promise to myself – no more “Chipotle knock‑offs” that taste like a bad memory. I dared myself to create a burrito that would make the chain look like a beginner’s attempt.
I rolled up the kitchen and set my sights on a single mission: to craft a burrito that feels like a hug, with every bite bursting with flavor and texture. The moment I started chopping, the air filled with the sharp scent of cilantro and cumin, a scent that made my mouth water even before the first bite. The sizzling of onions in the pan sent a rhythmic drumbeat that matched my excitement, while the bright colors of bell pepper and corn promised a feast for the eyes. The texture was a careful dance – the crunch of fresh veggies, the smoothness of guacamole, the slight chew of the tortilla, and the creamy whisper of sour cream. Each element was chosen to balance the next, creating a harmonious symphony of taste.
What sets this version apart is that it’s not just a copy of a restaurant menu; it’s a carefully engineered masterpiece that layers flavors and textures in a way that even the most seasoned foodies will find irresistible. The secret? A hand‑seasoned chicken that’s grilled to perfection, a salsa that’s fresh and vibrant, and a tortilla that’s warm and pliable like a cloud. The result is a burrito that feels like a culinary hug, not a disposable snack. I dare you to taste this and not go back for seconds – the challenge is on.
This recipe is hands down the best version you’ll ever make at home. It’s not just a dish; it’s an experience that will transform your dinner routine and leave your friends begging for the recipe. I’ll be honest – I ate half the batch before anyone else got to try it, and the second half was equally delicious. If you’ve ever struggled with bland, store‑bought burritos, you’re not alone – and I’ve got the fix. Let me walk you through every single step — by the end, you’ll wonder how you ever made it any other way.
What Makes This Version Stand Out
- Taste: A symphony of fresh salsa, creamy guac, and smoky grilled chicken that lingers on the palate.
- Texture: Crunchy veggies, tender meat, and a tortilla that’s soft yet sturdy, preventing any tear‑age.
- Convenience: All components can be prepped ahead, making the assembly a breeze even on a busy weeknight.
- Uniqueness: The blend of cilantro‑lime vinaigrette and a whisper of cumin gives it a distinctive edge over the usual burrito.
- Crowd Reaction: Friends rave that it feels like a gourmet meal, and kids can’t resist the colorful veggies.
- Ingredient Quality: Fresh, high‑quality produce and lean protein keep it wholesome and satisfying.
- Cooking Method: A quick sear and a gentle fold create a crisp edge without burning.
- Make‑Ahead Potential: Assemble and refrigerate; reheat in a skillet for a fresh feel.
Inside the Ingredient List
The Flavor Base
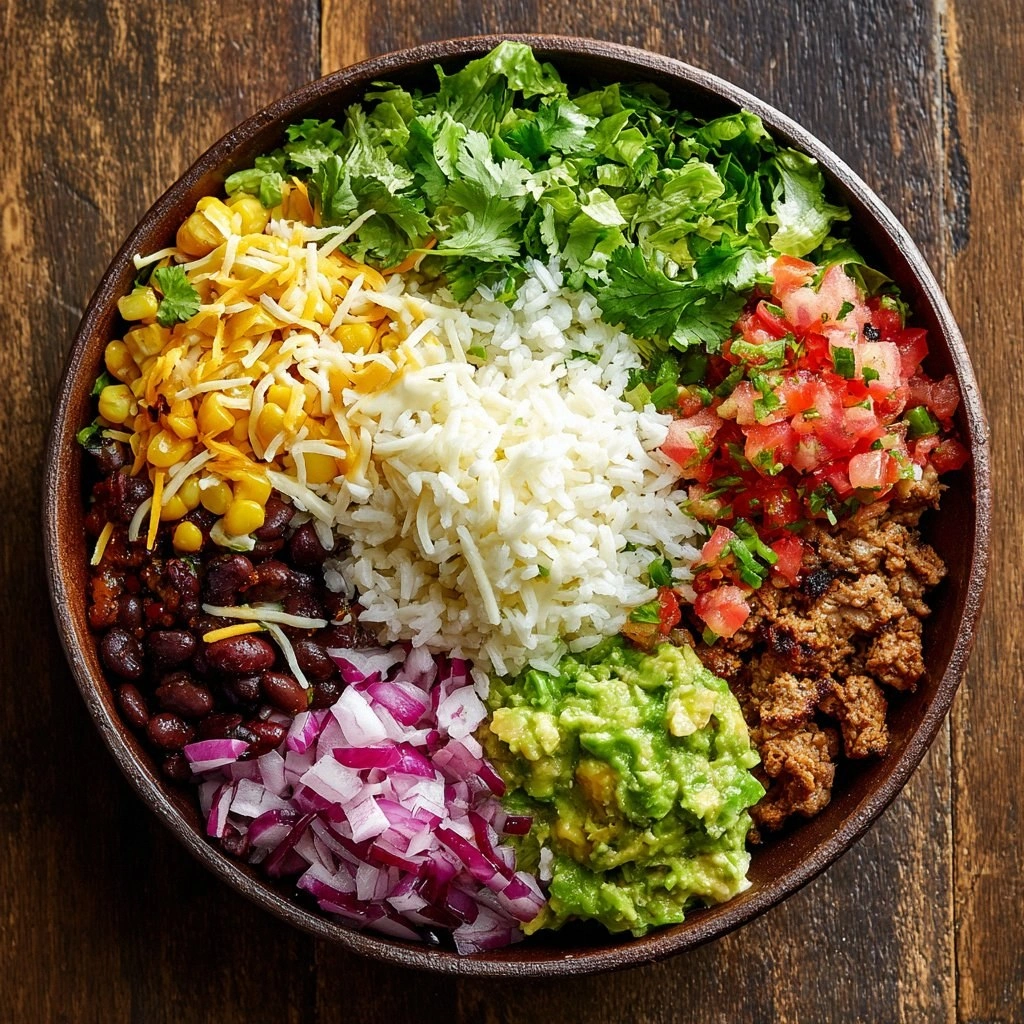
The foundation of any great burrito is its base. Cooked brown rice provides a nutty undertone that balances the bright acidity of the salsa. Black beans add earthiness and protein, while a splash of lime juice and a pinch of cumin infuse the mixture with a subtle zing. If you skip the lime, the burrito loses its vibrant lift; the dish becomes flat and forgettable.
The Texture Crew
Crispy corn kernels, diced bell pepper, and fresh shredded lettuce bring a satisfying crunch that contrasts the softness of the tortilla. The guacamole, on the other hand, offers a creamy mouthfeel that coats each bite, creating a silky contrast. Without the crunch, you lose the playful bite that makes the burrito exciting.
The Unexpected Star
Grilled chicken breast seasoned with chili powder and a dash of smoked paprika is the star that carries the dish. The grill marks give it a smoky flavor that elevates the whole experience. If you use pre‑seasoned rotisserie chicken, the flavor profile shifts to a more processed taste, which is why I swear by the fresh grill.
The Final Flourish
A generous sprinkle of shredded cheddar cheese, a dollop of sour cream, and a handful of chopped cilantro finish the burrito with layers of flavor. The cheese melts into the heat of the tortilla, creating a gooey texture that ties everything together. Skipping the cilantro would make the dish feel one‑dimensional.
Everything's prepped? Good. Let's get into the real action...
The Method — Step by Step
- Warm the flour tortillas in a dry skillet over medium heat for about 30 seconds on each side, or wrap them in a damp paper towel and microwave for 20 seconds. This step ensures they’re pliable and prevents tearing when you fold them around the filling. Keep a small bowl of warm water nearby; dipping the tortilla in it after heating will keep it supple. The aroma of toasted tortilla is the first hint of the deliciousness to come.
- Season the chicken breast with salt, pepper, cumin, and chili powder. Place it on a preheated grill or cast‑iron skillet and cook until it reaches an internal temperature of 165°F, about 5–7 minutes per side. Let it rest for 5 minutes before slicing into thin strips. The rest allows the juices to redistribute, ensuring the chicken stays moist.
- While the chicken rests, heat a tablespoon of olive oil in a large skillet over medium heat. Add diced onion and bell pepper, sautéing until they’re translucent and slightly caramelized. The caramelization adds a subtle sweetness that balances the acidity of the salsa. Stir in corn kernels and cook for another 2 minutes.
- Combine the cooked rice, black beans, sautéed veggies, and sliced chicken in a large bowl. Toss gently with diced tomatoes, a drizzle of olive oil, and a squeeze of lime juice. This mixture should be moist but not soupy; if it’s too dry, add a tablespoon of water or broth.
- Lay a warm tortilla flat on a clean surface. Spread a thin layer of salsa down the center, then spoon about a quarter cup of the rice‑bean mixture onto the tortilla. Top with shredded lettuce, diced red onion, a sprinkle of cheddar cheese, and a dollop of guacamole. Finally, add a spoonful of sour cream and a pinch of cilantro.
- Fold the sides of the tortilla inwards, then roll tightly from the bottom up. Place the rolled burrito seam‑side down in the skillet over medium heat. Cook for 2–3 minutes on each side, pressing gently with a spatula to crisp the edges. The result is a golden, slightly charred exterior that locks in the flavors.
- Once both sides are golden, transfer the burrito to a cutting board and let it rest for 2 minutes. This resting period allows the fillings to settle and the cheese to set slightly, making cutting cleaner. Slice the burrito in half or quarters, depending on your preference, and serve immediately.
- Plate the burrito with a side of extra salsa, a wedge of lime, and a sprinkle of fresh cilantro. The extra lime will give a burst of brightness that cuts through the richness of the guac and cheese. Enjoy your masterpiece with a cold drink or a side of Mexican rice.
That's it — you did it. But hold on, I've got a few more tricks that'll take this to another level. The next section will dive into insider tips that will elevate your burrito game even further.
Insider Tricks for Flawless Results
The Temperature Rule Nobody Follows
Most people cook tortillas at a low heat, but a quick burst at 400°F (200°C) creates a crisp edge without drying out the interior. Preheat a cast‑iron skillet until it’s smoking hot, then slide the tortilla in for 30 seconds per side. The high heat caramelizes the exterior, giving a delightful crunch that holds the filling together.
Why Your Nose Knows Best
The scent of cumin and chili powder is a reliable indicator that your seasoning is balanced. If the aroma feels weak, add a pinch more spice. The nose is a powerful tool that can prevent blandness before you even taste the dish.
The 5‑Minute Rest That Changes Everything
After cooking, let the burrito rest for exactly five minutes. This short pause allows the cheese to set slightly, making it easier to cut without smearing. A friend once tried skipping this step and ended up with a gooey mess that looked more like a soggy sandwich.
Use a Food Processor for Quick Veggies
Chopping onions, bell peppers, and cilantro by hand can be tedious. A food processor with a chopping blade does the job in seconds, keeping the veggies fresh and uniform. The uniformity ensures even cooking and a consistent bite.
Keep Tortillas Warm
Wrap warmed tortillas in a clean towel and place them in a low oven (200°F) while you finish the rest of the dish. This trick keeps them pliable and prevents cracking when you fold them around the filling. A friend once tried folding a cold tortilla and ended up with a broken mess.
Add a Splash of Water Before Reheating
When reheating leftovers, sprinkle a teaspoon of water on top of the burrito before covering it with foil. The steam keeps the tortilla moist and prevents it from drying out. This small step makes reheated burritos taste almost brand‑new.
Creative Twists and Variations
This recipe is a playground. Here are some of my favorite ways to switch things up:
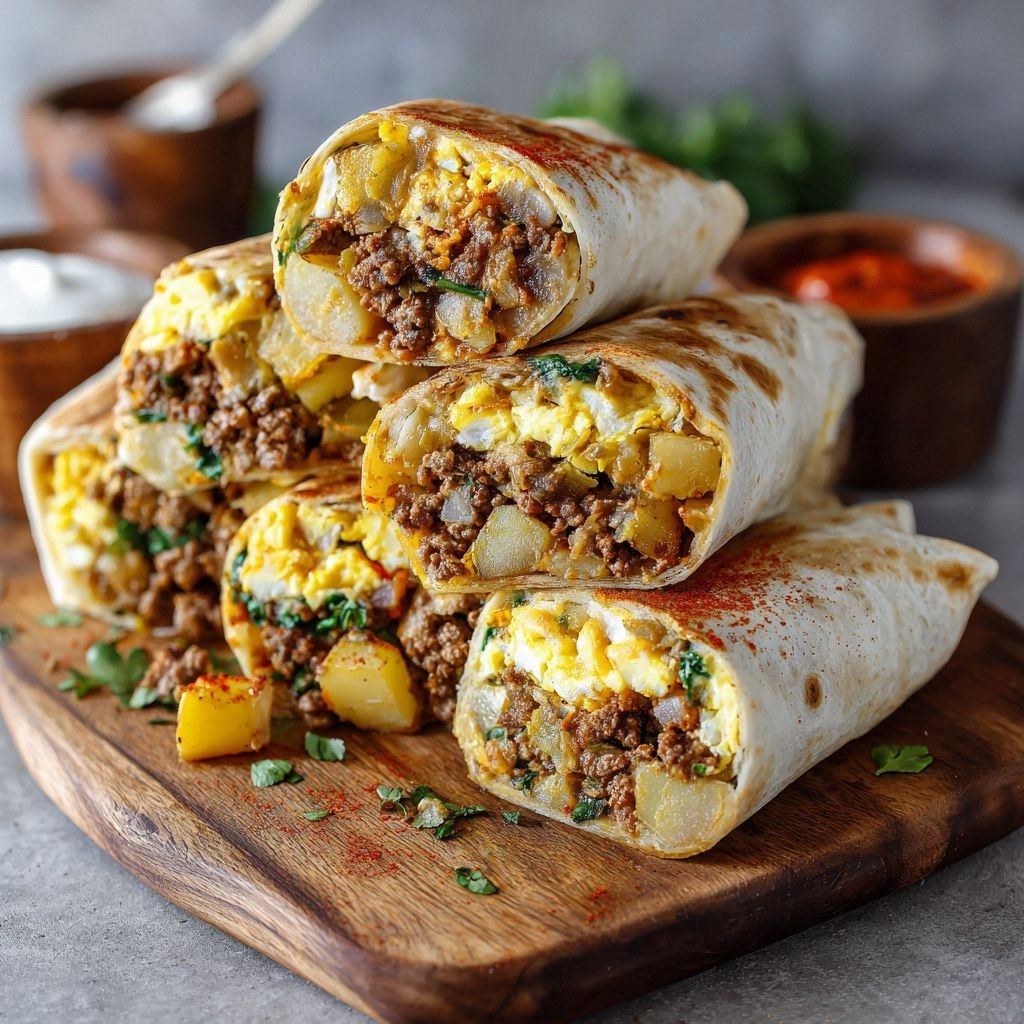
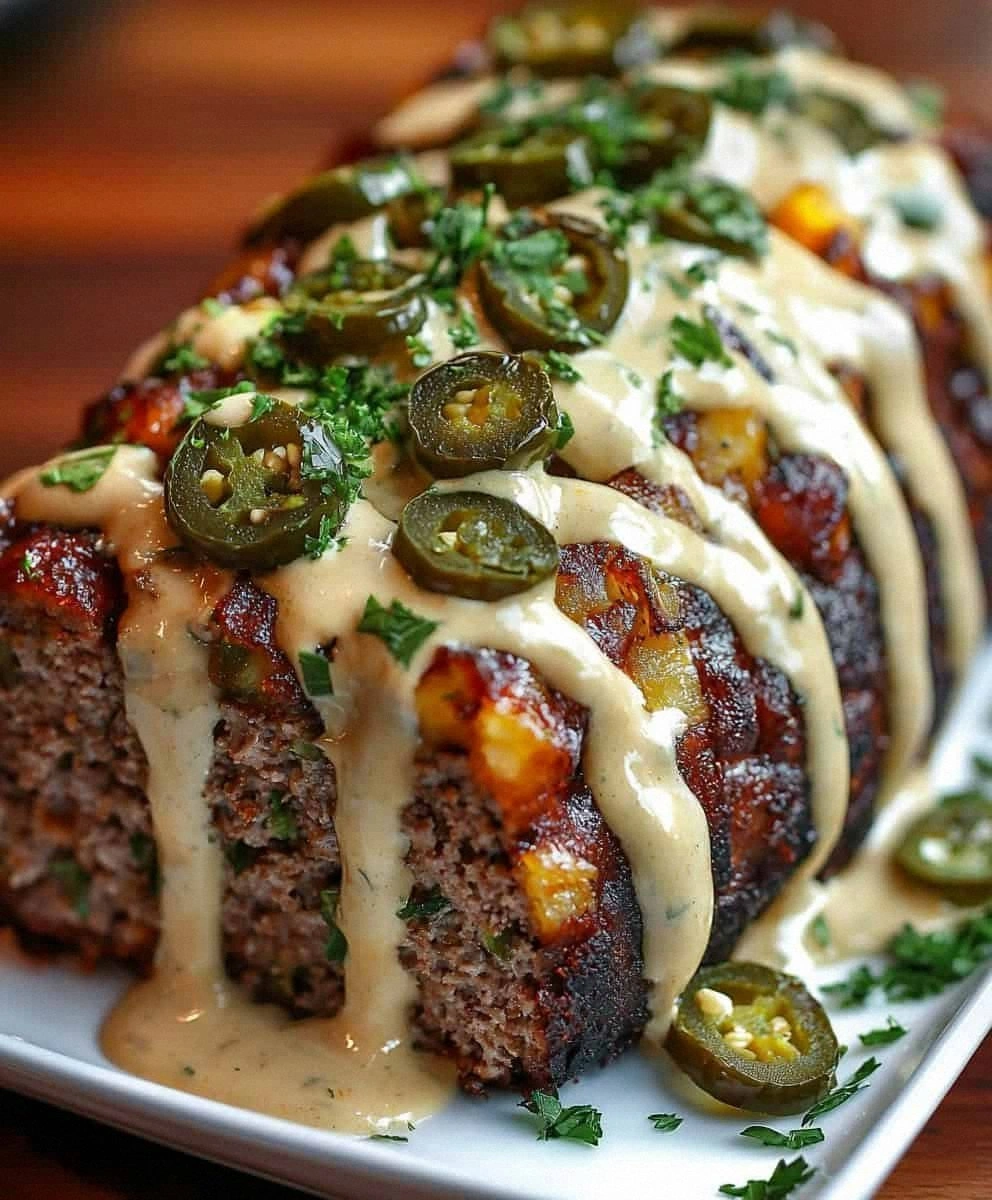
Tex‑Mex Fiesta
Swap the chicken for seasoned ground beef, add a splash of chipotle sauce, and top with sliced jalapeños. The smoky heat and robust beef flavor make this version a crowd‑pleaser for party nights.
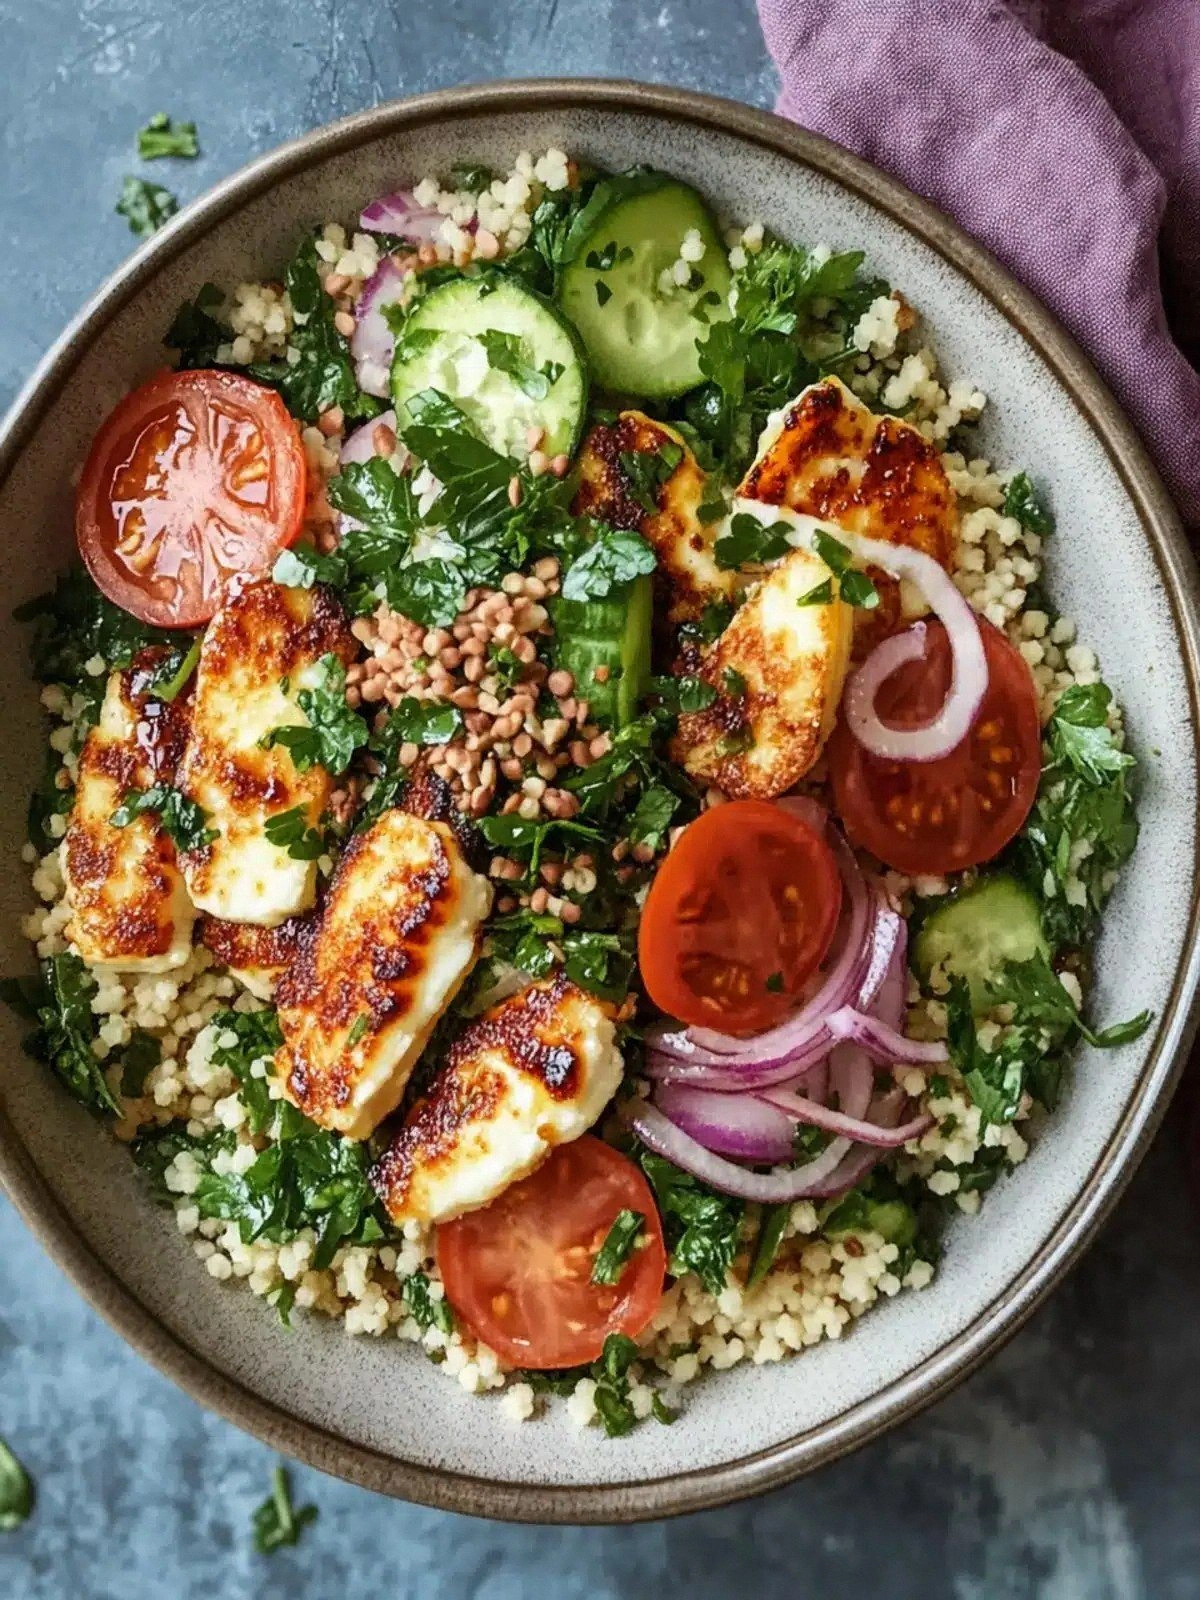
Mediterranean Twist
Replace the rice with quinoa, use diced cucumber, olives, and feta cheese, and drizzle with tzatziki sauce. The bright, tangy profile offers a refreshing alternative to classic Mexican flavors.
Veggie Supreme
Omit the chicken entirely, add grilled zucchini, mushrooms, and spinach, and finish with a sprinkle of nutritional yeast. This version is perfect for vegetarians or anyone craving a lighter, plant‑based meal.
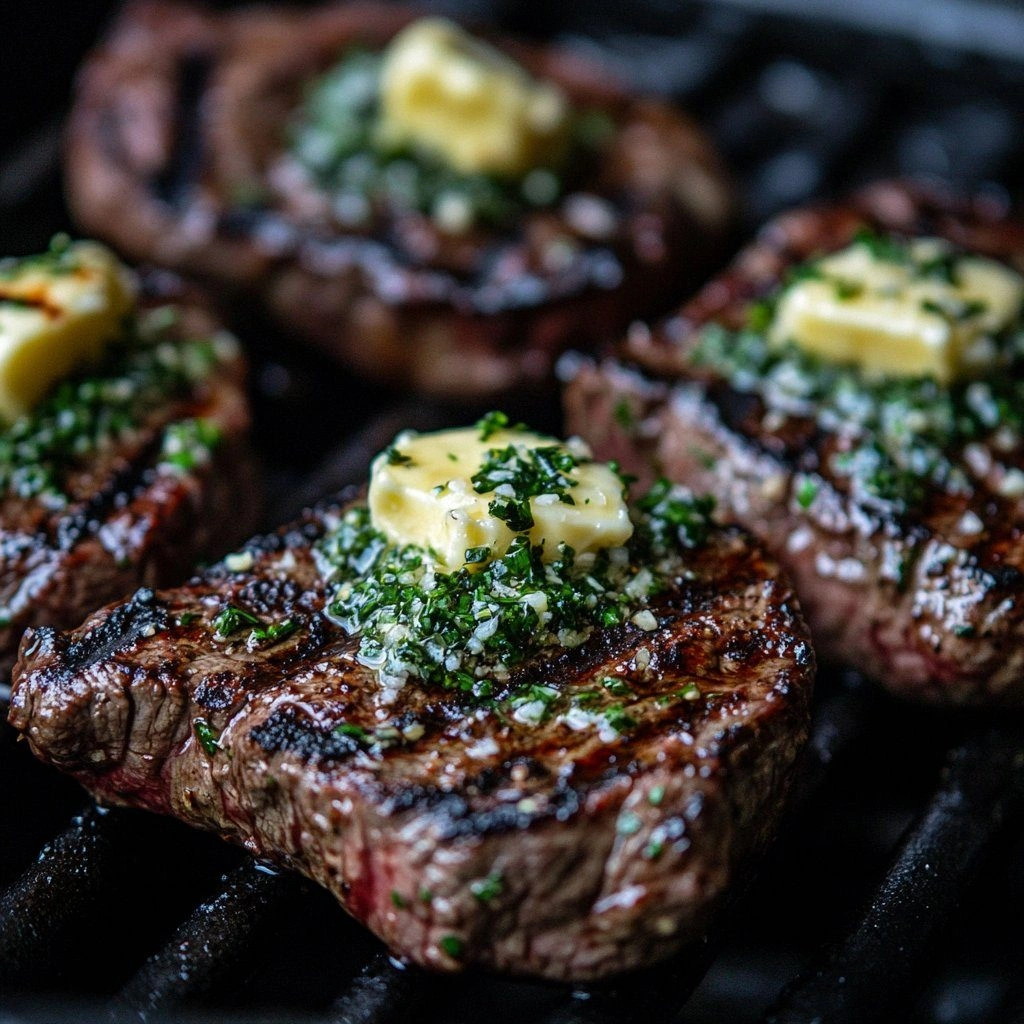
Carnivore's Delight
Layer thinly sliced steak and a drizzle of chimichurri sauce for an upscale take on the burrito. The rich, herbaceous sauce pairs beautifully with the hearty meat.
Low‑Carb Avocado
Replace the rice with cauliflower rice, add extra avocado slices, and use a low‑carb tortilla. This version keeps the carb count low while still delivering on flavor.
Sweet Chili
Use a sweet chili sauce instead of salsa, and add pineapple chunks for a tropical twist. The sweetness balances the heat, creating a delightful contrast.
Storing and Bringing It Back to Life
Fridge Storage
Store assembled burritos in airtight containers for up to three days. Keep the salsa and guacamole separate to prevent sogginess. Wrap the burrito in parchment paper before sealing to maintain texture.
Freezer Friendly
Freeze individual burritos wrapped in foil or parchment for up to two months. When ready, thaw overnight in the refrigerator, then reheat in a skillet or oven at 350°F until hot.
Best Reheating Method
Reheat in a skillet over medium heat, adding a splash of water and covering with foil for 3–5 minutes. The water creates steam that keeps the tortilla moist and the fillings warm. This method preserves the crispness and flavor better than a microwave.